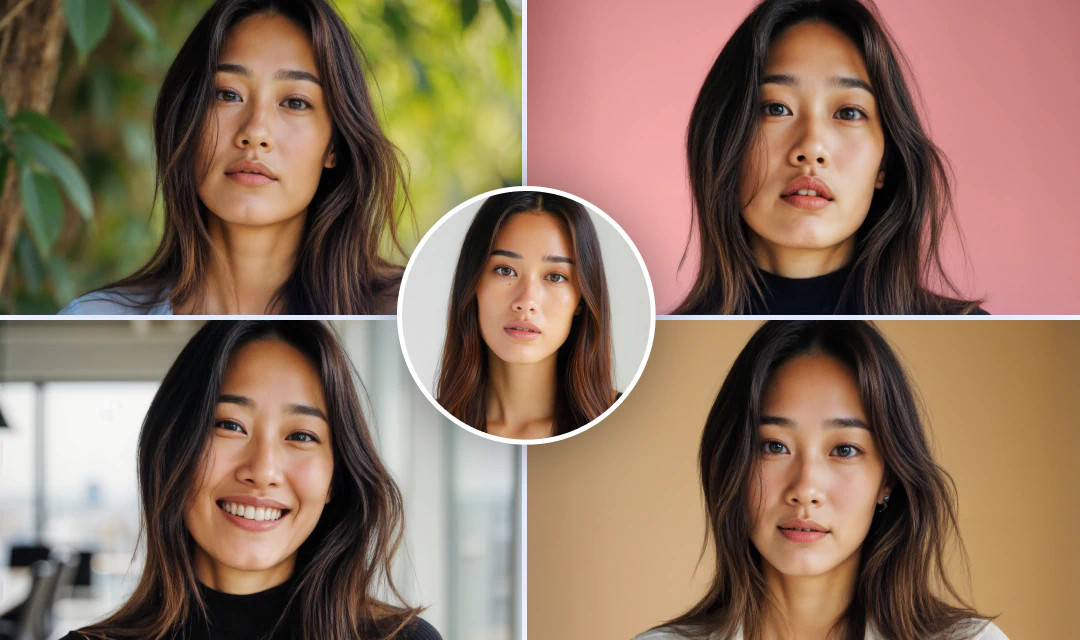
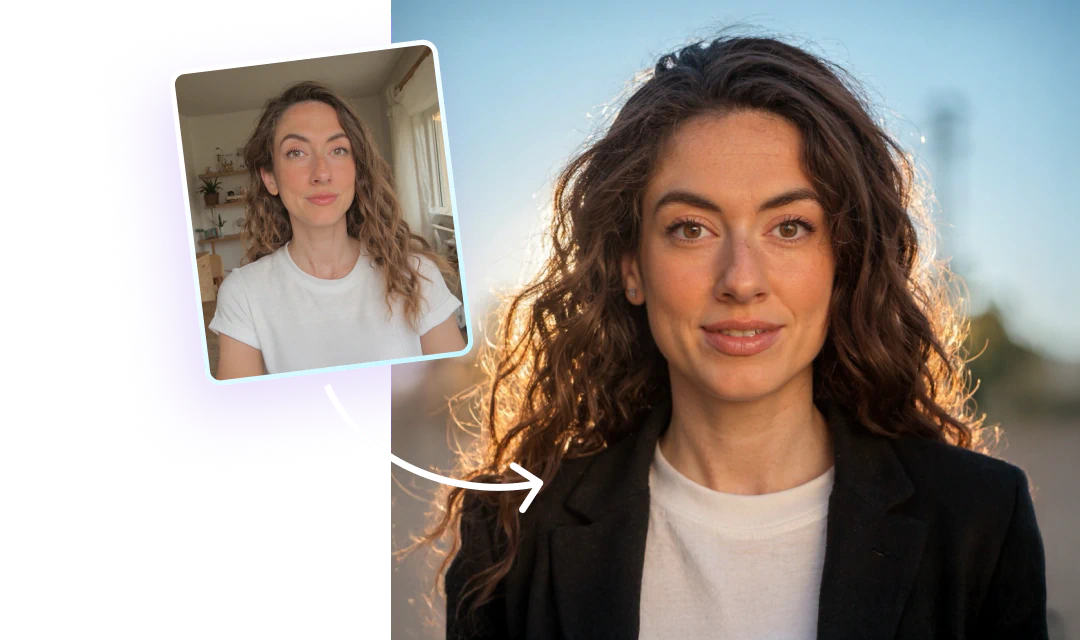
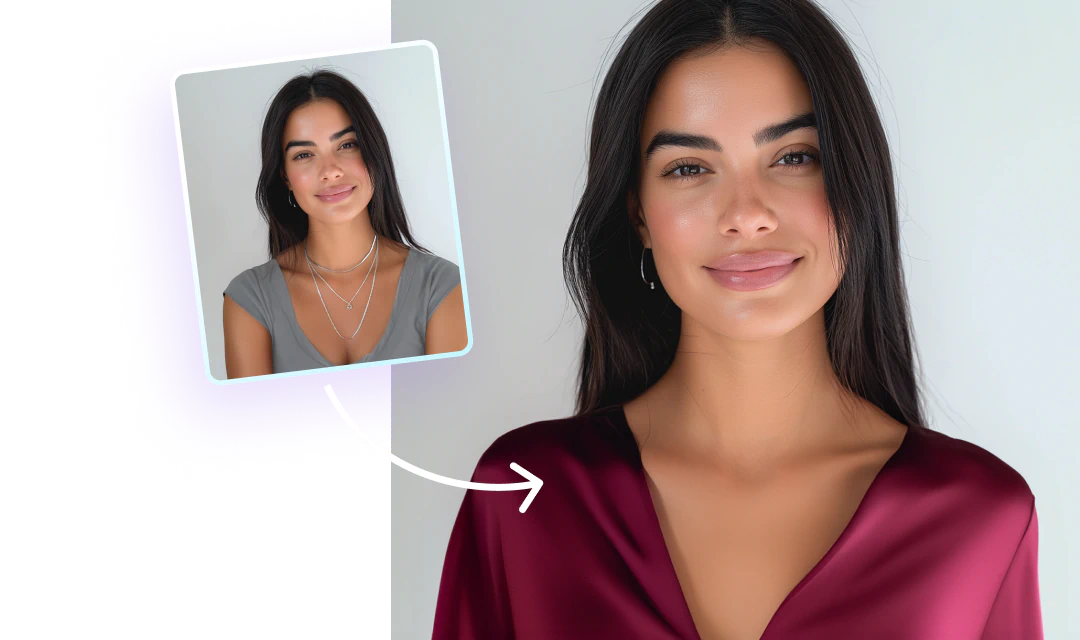
Let's dive into the world of Facetune, where we turn dim disasters into bright, like-worthy content. Whether you're dealing with a moody selfie or a group pic gone wrong, we've got you covered. Time to say goodbye to those underexposed nightmares and hello to vibrant, eye-catching images that'll make your followers do a double-take.
{{cta-banner-images}}
How to brighten dark pictures: The Facetune magic touch
Facetune isn't just another editing app - it's your secret weapon for rescuing dark photos. Let's break down the tools that'll have you brightening like a pro in no time.
The adjust menu: Your brightness command center
First stop: the adjust menu. This is where the real magic happens. Head to the editor and get ready to play:
- Brightness: Crank it up to instantly lift your image out of the shadows.
- Contrast: Add some punch to make your subject pop.
- Color: Because life's too short for dull hues.
- Light: Illuminate specific areas for a pro-level touch.
- Shadows and highlights: Balance is key - don't go overboard.
- Saturation: Pump up the color volume for extra vibrancy.
- Temp: Cool it down or warm it up to set the perfect mood.
Pro tip: Facetune lets you choose between brightening the whole image, just the subject, or leaving the background in mystery. Experiment with different combos to find your signature style.
Retouch: Precision is the name of the game
When you need to target specific areas, the photo retouch tools are your new best friends:
- Glow: Add a subtle radiance that says "I woke up like this" (even if you didn't).
- Fix shadows: Banish those pesky dark spots with a few taps.
- Fix tone: Smooth out uneven areas for a flawless finish.
The best part? You can brush over specific areas with pinpoint accuracy. It's like having a professional retoucher in your pocket.
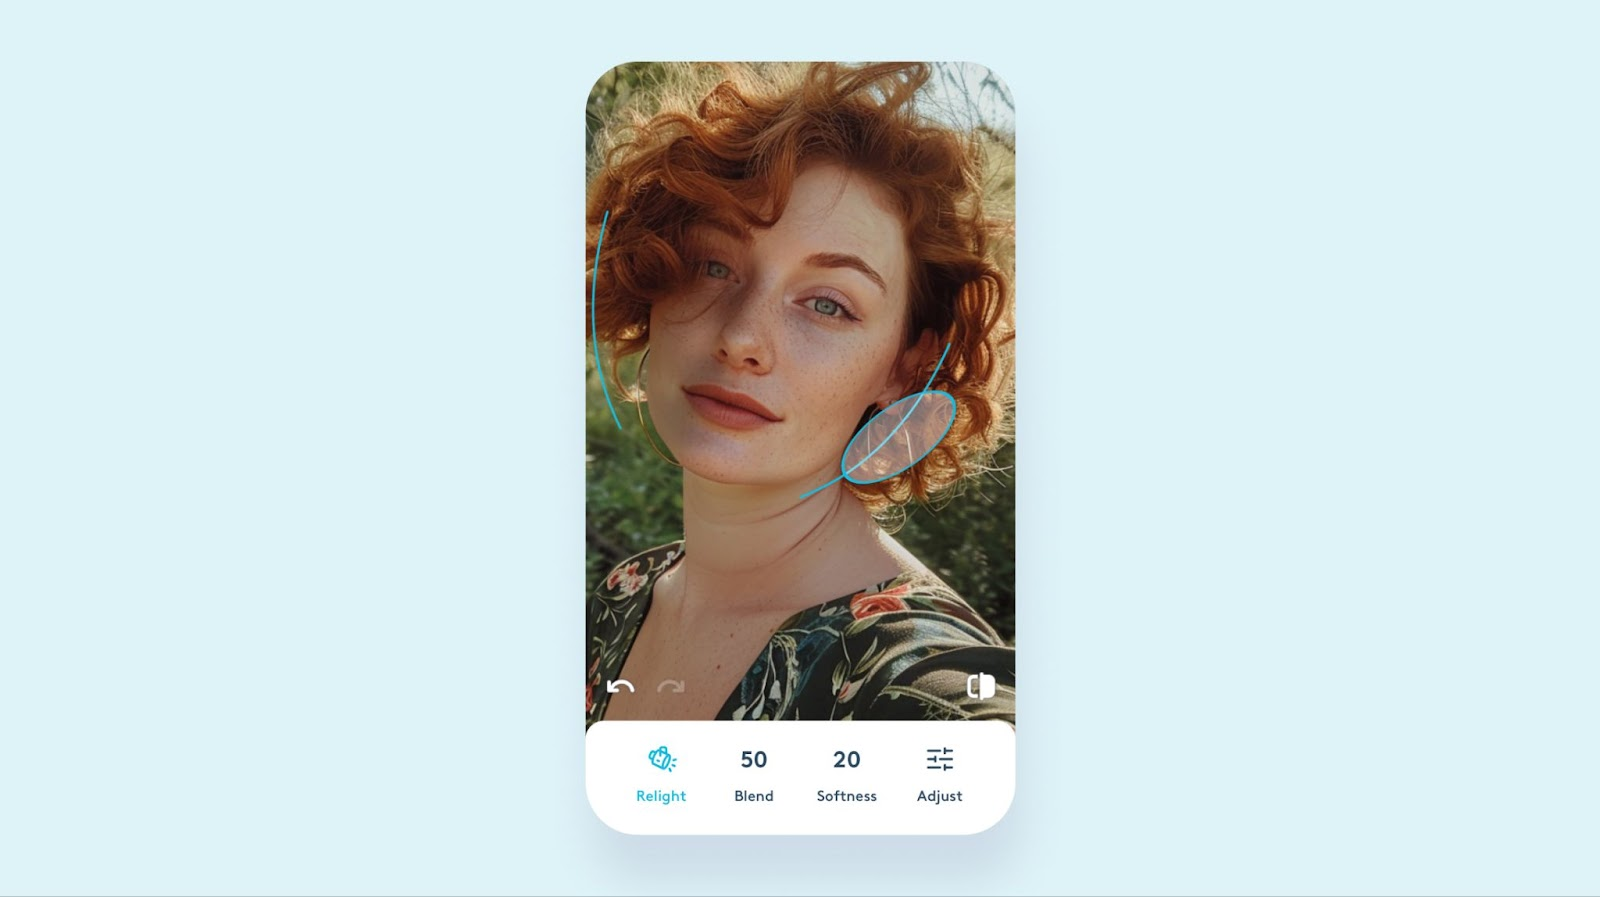
Relight tool: Face-focused brilliance
This feature is a game-changer for portraits and selfies. Use it to:
- Automatically brighten just your face (because you're the star of this show).
- Fine-tune with sliders for that perfect, natural-looking glow.
Filters: Instant mood elevators
Sometimes you need a quick fix. That's where photo filters come in:
- Golden hour: Instant sunset vibes, no waiting required.
- Vintage: For when you're feeling a bit nostalgic.
- Beach vibes: Bring the sunshine, even on a cloudy day.
Play around with these to find the perfect look for your feed's aesthetic.
How to brighten a dark picture on iPhone: Facetune to the rescue
iPhone users, listen up. Facetune is about to be your new favorite app. Here's how to make the most of it:
- Start with the basics: Open your dark photo in Facetune and head straight to the adjust menu. Play with the brightness and contrast sliders first. You'll be amazed at how much of a difference this simple step can make.
- Don't forget about shadows and highlights: These tools can help you balance out the light in your photo. Lift the shadows to reveal hidden details, and tone down highlights if they're too harsh.
- Use the Retouch tools for targeted fixes: If only certain parts of your photo need brightening, the retouch tools are your go-to. The "fix shadows" option is particularly handy for those tricky dark spots.
- Experiment with the Relight tool: This is especially great for selfies. It can add a natural-looking light to your face, as if you were standing in perfect lighting.
- Finish with a filter: Once you've made your adjustments, try applying a filter to give your photo that extra pop. Just remember to dial it back if it starts looking unnatural.
Remember, the key to mastering how to brighten a dark picture on iPhone is practice. Don't be afraid to play around with different tools and settings. Your perfect bright photo is just a few taps away.
{{cta-banner-simple}}
Tips to make dark photos lighter like a pro
- Start subtle: It's easy to go overboard with brightening. Start with small adjustments and build up gradually.
- Keep it natural: The goal is to enhance your photo, not make it look like it was shot on the surface of the sun.
- Pay attention to skin tones: When brightening portraits, make sure you're not washing out natural skin tones.
- Don't forget about contrast: Brightening can sometimes make a photo look flat. Use the contrast tool to add depth back in.
- Use selective brightening: Sometimes brightening just the subject while leaving the background darker can create a striking effect.
- Experiment with color temperature: Warming up a photo slightly can make it appear brighter without actually increasing the exposure.
- Save your edits: Found a combination that works? Save it as a custom filter for quick use on future photos.

So there you have it - your complete guide to banishing darkness from your photos faster than you can double-tap a like. With these Facetune tricks up your sleeve, you'll be able to make dark photos lighter, lighten up pictures, and brighten up photos like it's nobody's business.
Now go forth and flood your feed with brilliance. Your followers won't know what hit them (spoiler: it was your newfound editing skills). Happy brightening, you luminous legends!
{{cta-banner-images}}


