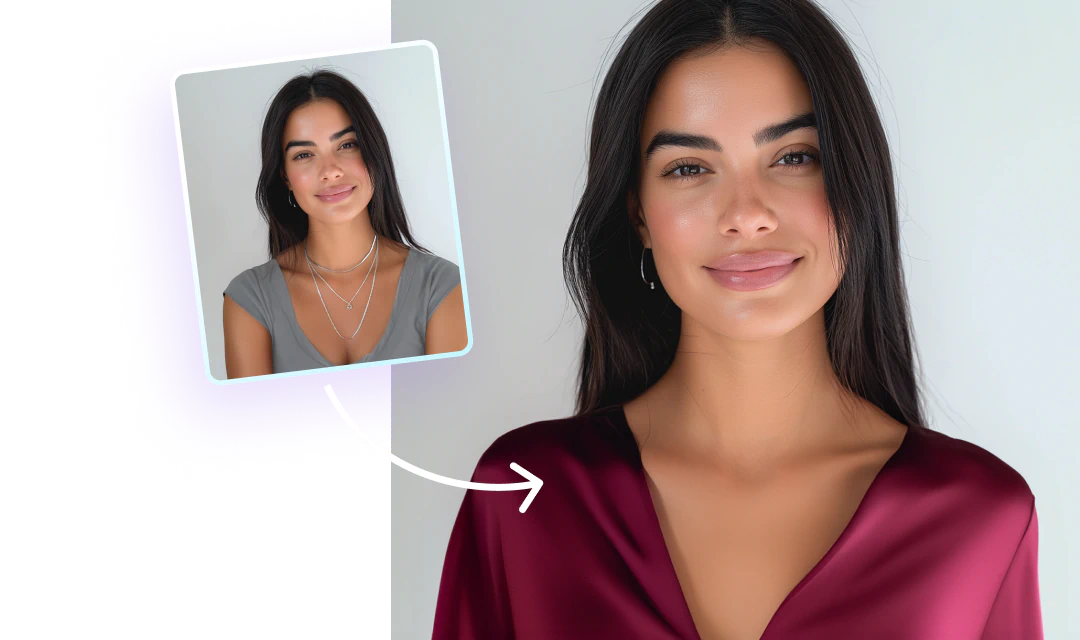
Listen, we've all been there – staring at those contour makeup products wondering if we're about to serve supermodel or streaky mess. But here's the tea: getting that perfect cheekbone contour doesn't have to be scary. Whether you're team makeup highlighter makeup or team tap-and-done digital beauty, I'm about to spill all the secrets to getting that sculpted-by-the-gods bone structure.
{{cta-banner-images}}
How to contour your face for beginners
Before we dive into the digital magic, let's break down IRL face shaping makeup for all my makeup girlies:
Map your face Think of your face as a canvas (but like, a really pretty one). You want to highlight your face’s sweet spots:
- Under your cheekbones (make a fish face – contour lives in those hollows)
- Along your jawline (snatched, not sharp)
- Sides of your nose (if you're feeling fancy)
- Hairline (to give that face-framing moment)
Choose your fighter Pick your contour product based on your vibe:
- Powder: The beginner-friendly bestie
- Cream: For that "I woke up like this" natural look
- Stick: The lazy girl's dream (just swipe and blend)
Blend, baby, blend The golden rule? If you can see where your sculpting makeup starts and ends, keep blending. Use upward motions and remember: we're going for "naturally sculpted," not "I drew lines on my face."
Contour filter app: Contour different face shapes
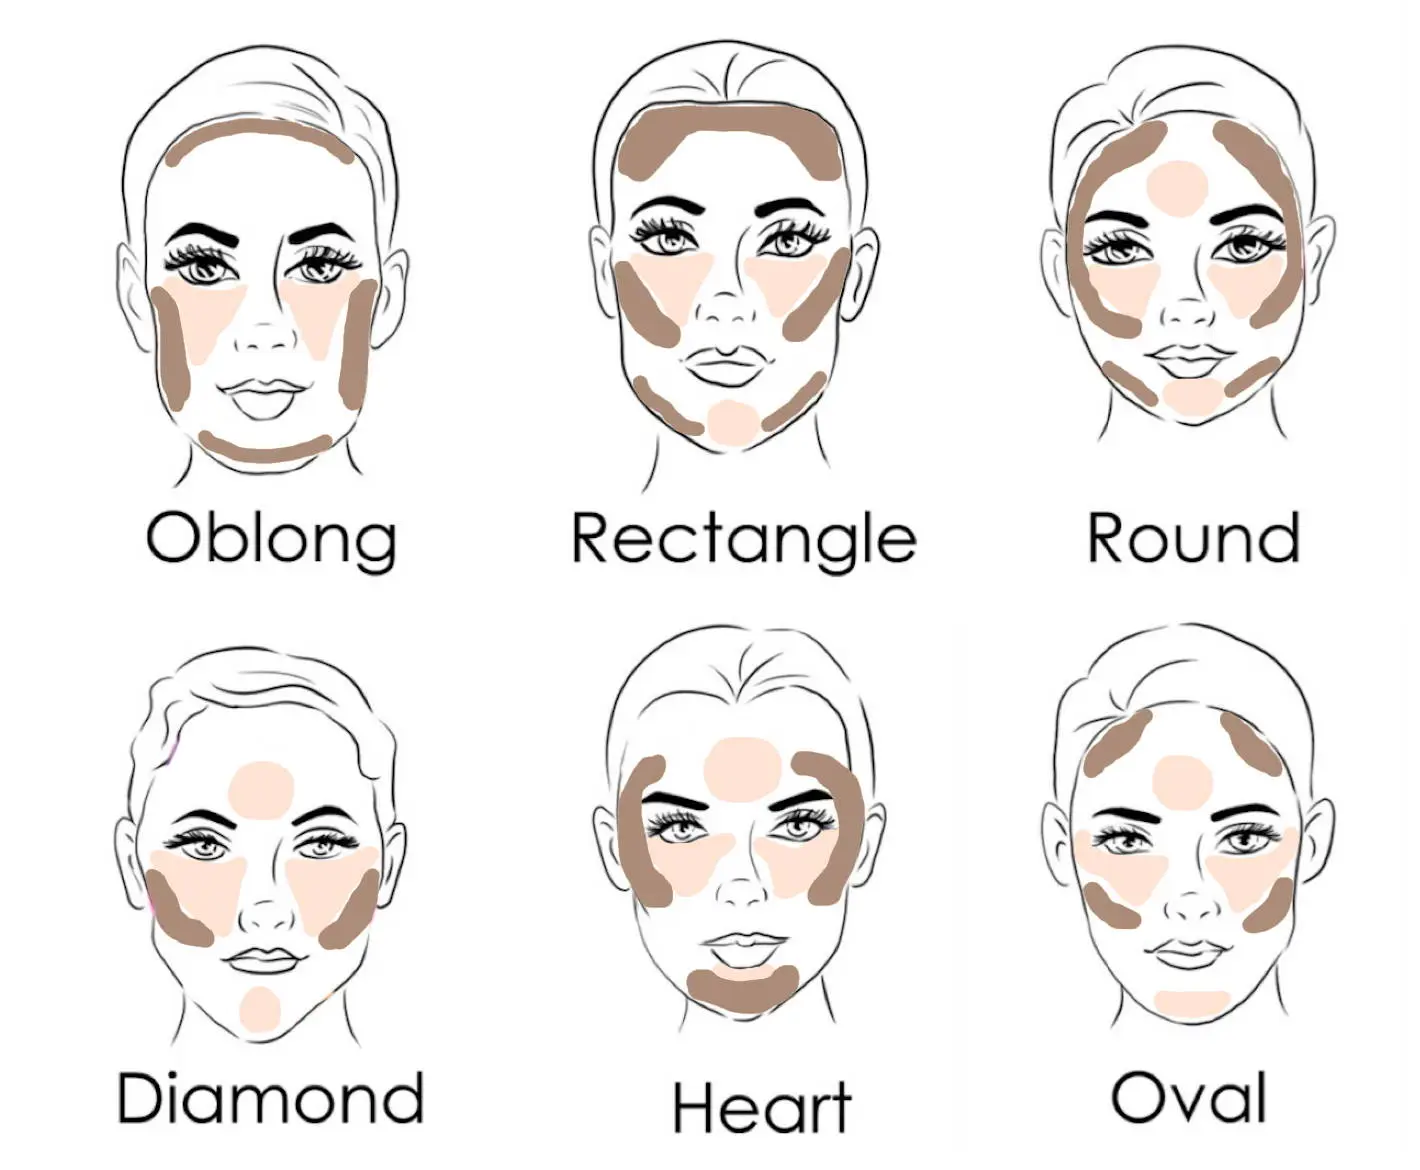
Contour for round face
The goal: Create angles and definition by focusing on cheekbone contour and jawline sculpting.
Jawline contour
Get that chiseled look by:
- Following your natural bone structure
- Blending downward for a natural shadow
- Using Facetune's contour presets for the perfect angle
Contour for nose
Snatched nose incoming:
- Keep the lines super thin
- Blend until you can't see where contour begins or ends
- Use Facetune's nose tool for practice
Contour oval face
Focus on:
- Subtle cheekbone enhancement
- Light forehead contouring
- Minimal jaw definition
Contour a square face
Soften angles while keeping that model-worthy structure:
- Focus on temples
- Soften jawline corners
- Add height with highlight placement
Contour rectangle face
Create balance and dimension:
- Focus on shortening length
- Add width at cheekbones
- Soften forehead and jaw
Contour diamond face
Enhance your natural angles:
- Highlight cheekbones
- Soften chin area
- Balance forehead width
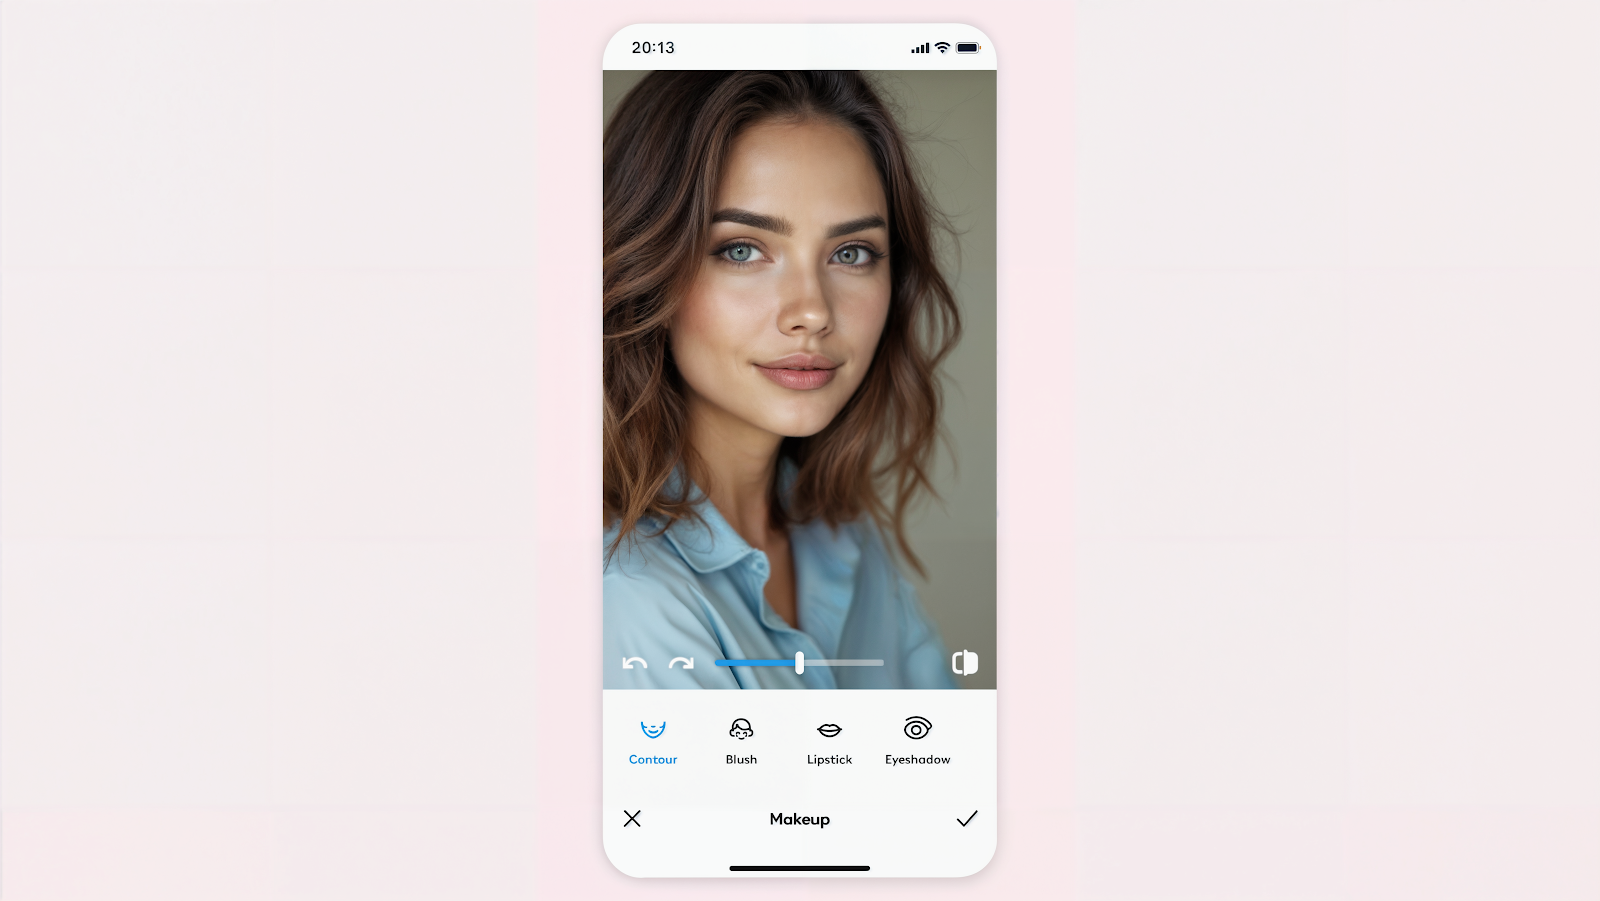
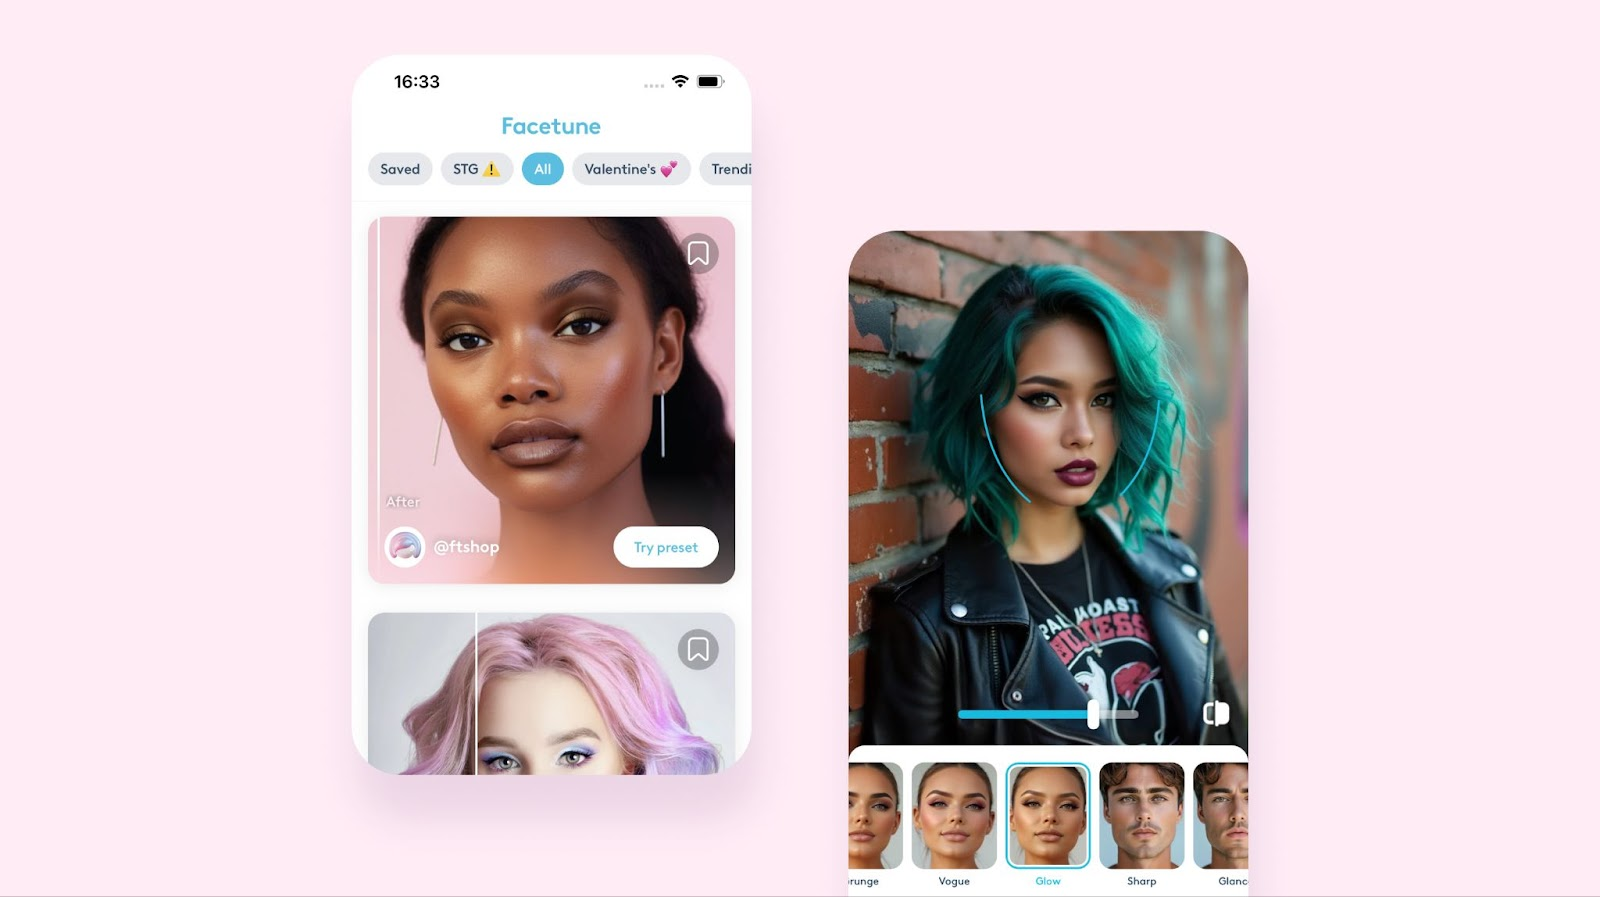
Digital snatched: contouring with Facetune
Now for the real tea – how to get that contoured look faster than you can say "who is she?":
The contour tool: your new BFF
Pop into Facetune's makeup editor and head straight to contour. Here's where the magic happens:
- Tap through the options to find your perfect level of snatched
- Each preset is designed to work with your unique face shape
- Play around with intensity until you hit that sweet spot
- Pro tip: The most natural-looking contour is the one nobody can clock
One-tap wonder: 'Looks' presets
For my "I don't have time for this" queens:
- Scroll through the 'Looks' feature
- These presets add the softest, most natural beauty filter
- They subtly contour while still letting your real features shine
- Perfect for those "no makeup makeup" days
Discover feed: full glam goals
When you're ready to serve face:
- Hit up the Discover feed
- Scroll until you find your perfect contoured vibe
- One tap and boom – full glam without the hour-long tutorial
- From subtle sculpt to full-on Kardashian, the options are endless
Pro tips for both worlds
Whether you're team makeup, team digital, or team "why not both?", remember:
- Less is more (you can always add more, but taking away? That's a whole situation)
- Work with your face shape, not against it
- Learn where to highlight face features strategically - it's just as important as contouring
- Natural light is your bestie for checking your work
- When in doubt, blend it out
The best part about Facetune's contour tools? You can test drive different contour styles without touching a single makeup brush. Think of it as your personal "try before you buy" service, but for your face.
{{cta-banner-simple}}
Remember: whether you're contouring with products or pixels for your sculpting makeup, the goal is to enhance your natural beauty, not create a whole new face. Because at the end of the day, you're already serving – we're just adding a little extra spice.
Pro tip: Keep both your contour brush and Facetune handy. Some days call for a full beat, others for a quick digital touch-up. No judgment here – we love a versatile queen!