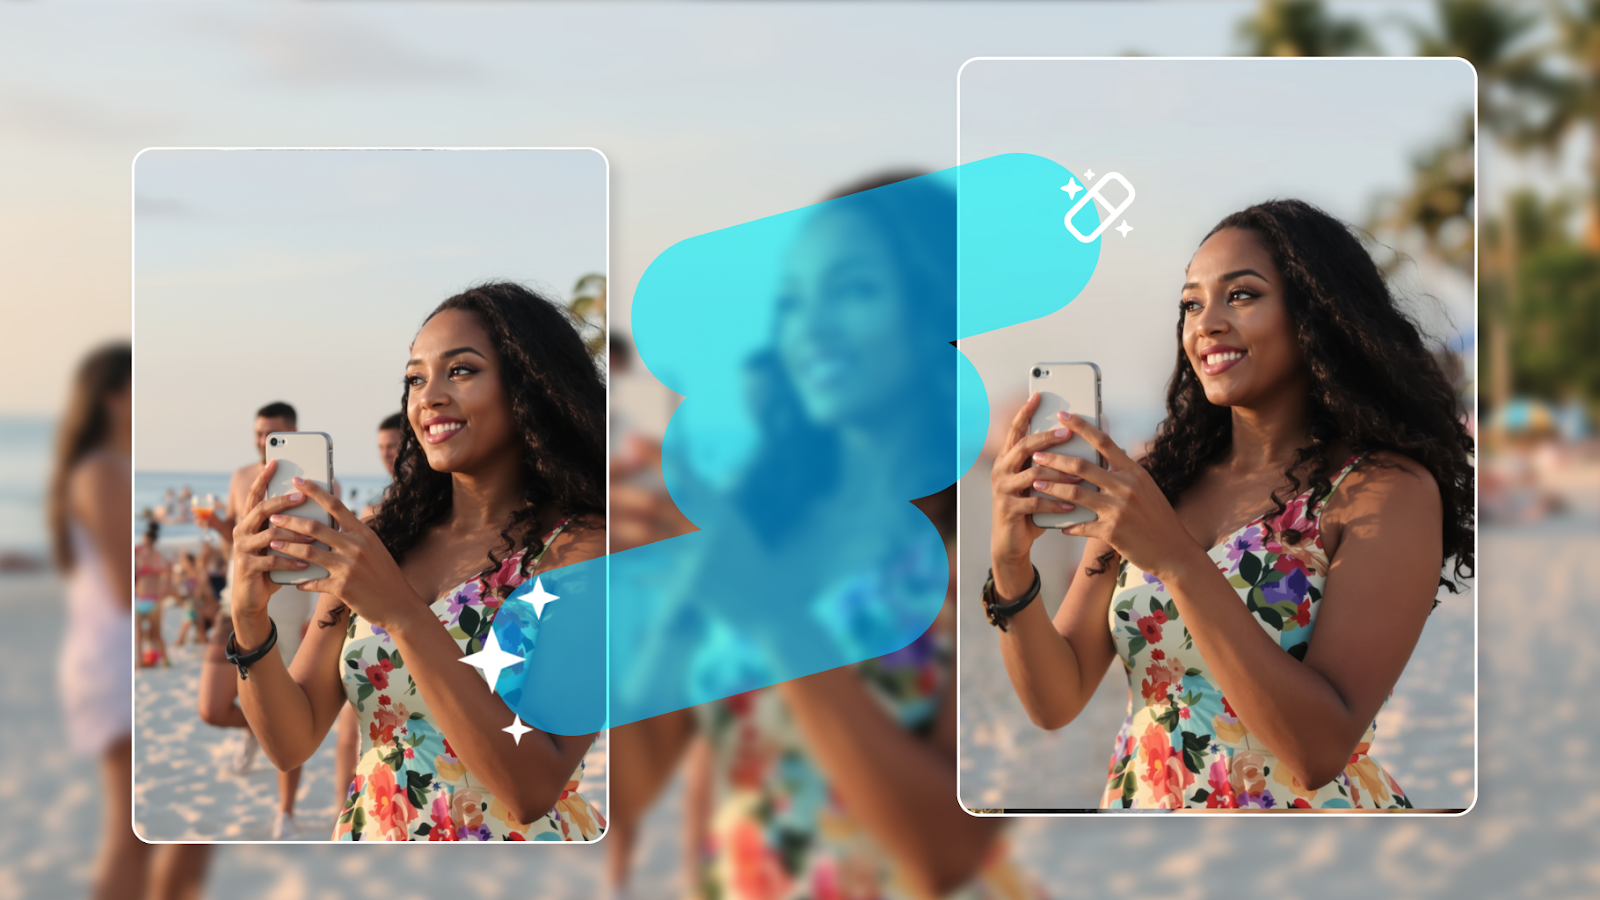
There's something about dying your hair that is so satisfying. Perhaps it's because it is such a major way to change up your look. But it's so satisfying when it dries, and you look totally different. It's the ultimate power move, especially after a breakup or something humiliating, to show that you're moving on with your life.
{{cta-banner-images}}
And nowadays there are so many options. You don't need to spend $$$ in a salon to dye your hair. And you can pick between so many colors! Red, orange, purple, blue, or green. Or if you can't decide, just pick them all and go for some funky mermaid crazy vibes! Dying your hair can be so addictive.
But if you change your mind a lot or aren't ready for a long-term hair commitment, it can be a pain. Not to mention the damage to your hair if you change the color a lot. Yikes!
This is where editing apps come to the rescue. Dye your hair whatever color you like without any damage.
Dye Hair In A Photo Example
Before Facetune:

After Facetune:

How to dye your hair in a photo using Facetune.
Step 1: Open the photo you want to edit in Facetune.
Step 2: On the bottom main menu bar, scroll along until you can select the hair feature.
Step 3: Swipe left on the colors bar to see more colors in the hair tool and try out your favorite. You can use the blue slider bar to increase and decrease the intensity.
Step 4: Use the Blend feature to bring back some of your natural hair color and tones, so the new color looks realistic.
Step 5: Use the Glow function to add vibrancy to the color and make it even brighter.
Step 6: Save your edits using the tick in the bottom corner and send the photo of your new look to your friends and see what they think!
Dying your hair in photos is super easy, quick and fun, and Facetune makes it easier than ever. Try out every color you've ever dreamed of before you dye your hair in real life. And it's totally free to change your mind and pick a new color. Bargain!


