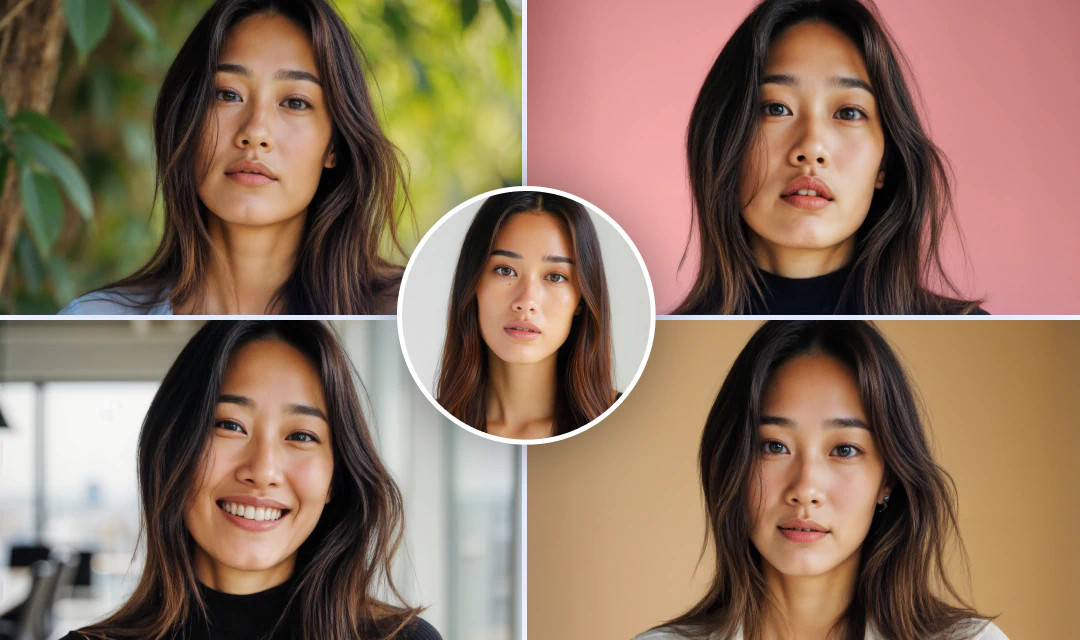
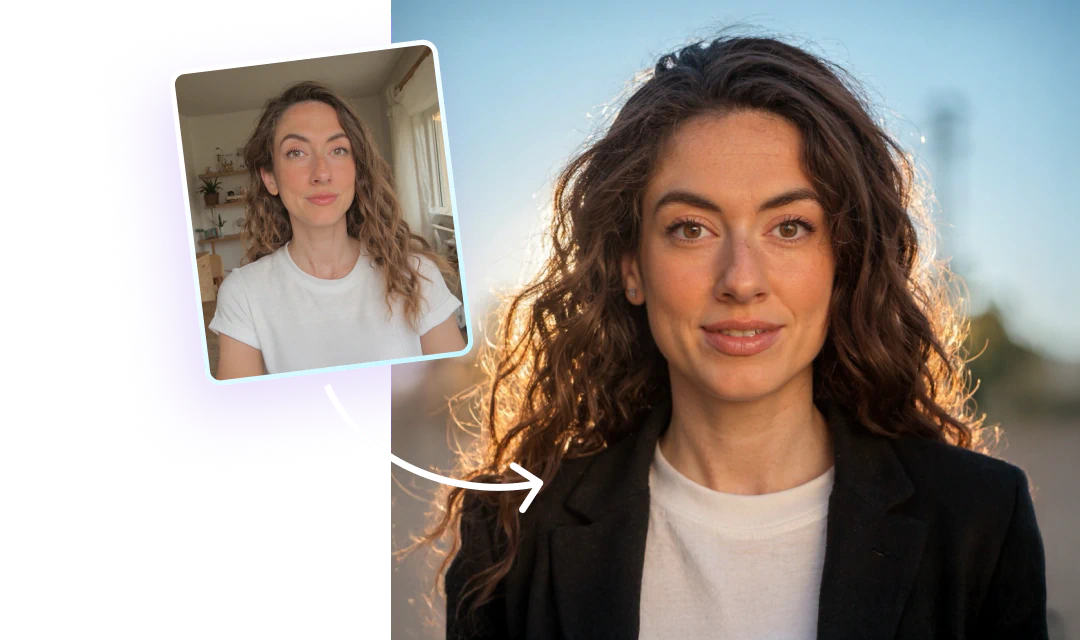
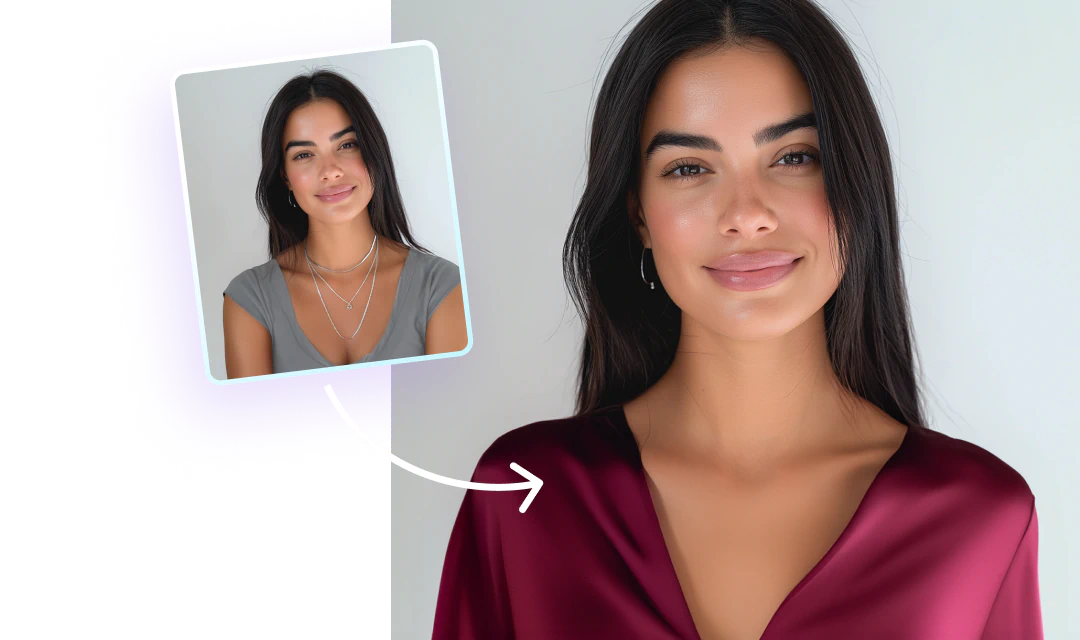
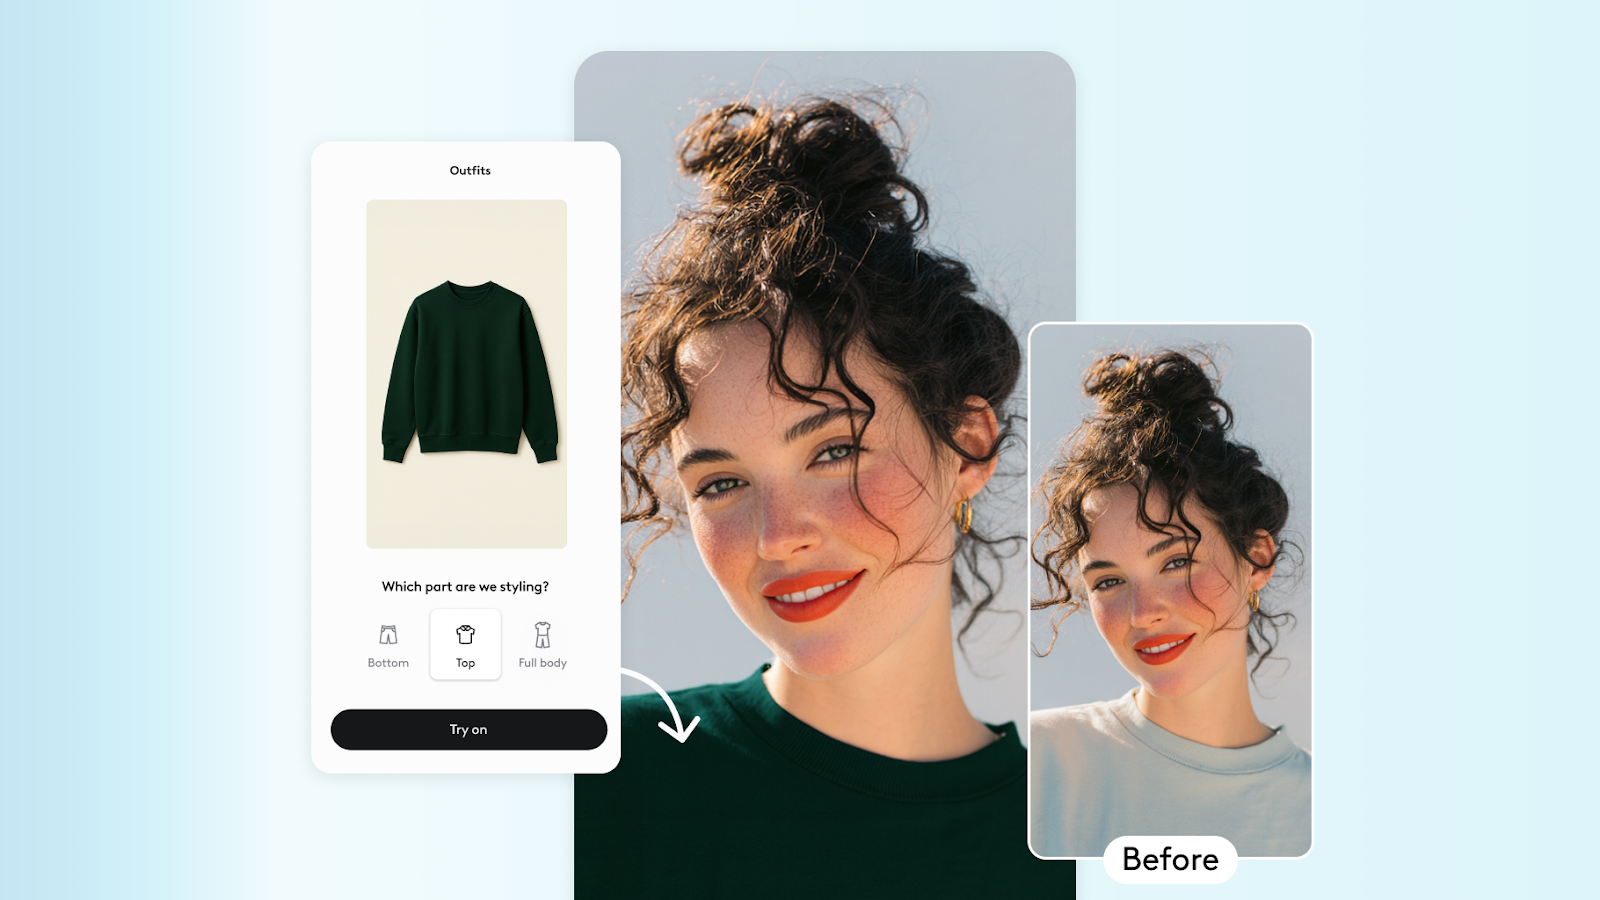
Ever wondered how to achieve flawless skin in your photos without the hassle of physical makeup? Look no further than Facetune, your digital beauty assistant. This powerful app offers a seamless solution for applying concealer digitally, helping you create stunning images that showcase your best self. In this guide, we'll walk you through the process of adding concealer to your photos using Facetune, ensuring you look picture-perfect in every shot.
How to Apply Concealer Step by Step in Facetune
Facetune makes it a breeze to put concealer in your photo, even if you're new to digital touch-ups. Let's dive into the step-by-step process that'll have you looking flawless in no time. First, open your chosen photo in Facetune and navigate to the 'Retouch' or 'Smooth' tool. Here, you'll find the concealer option waiting to work its magic. Select a shade that complements your skin tone – remember, we're going for natural, not noticeable. Gently tap or brush over the areas you want to conceal, whether it's under-eye circles, blemishes, or redness. The key to a believable result? Blend, blend, blend! Soften those edges and adjust the opacity until it looks just right. Remember, subtlety is your friend here – we're enhancing, not masking.

Applying Two Shades of Concealer for a Natural Look
Want to take your digital makeup game to the next level? Try applying two shades of concealer in Facetune for a more dimensional and natural appearance. Start by using a lighter shade under the eyes and on the high points of your face – think cheekbones and the bridge of your nose. This trick brightens and lifts these areas, giving you that coveted 'I woke up like this' glow. Then, switch to a shade that matches your skin tone for covering blemishes and redness elsewhere. The secret sauce? Blending these two shades seamlessly for a natural transition that'll have everyone wondering if you've discovered the fountain of youth.
Quick and Easy: Applying Concealer in One Click
For those days when you're in a rush but still want to look your best, Facetune's got your back with its time-saving 'one-click' concealer option. This feature is perfect for quick touch-ups or when you're short on time but still want to enhance your photos. Simply select the area you want to conceal, choose your desired shade, and voilà – one click applies and blends automatically. It's like having a personal makeup artist in your pocket! For more cutting-edge editing tricks, check out how Facetune's AI Assistant can revolutionize your photo editing game.

Troubleshooting: When Concealer Stands Out in Photos
Uh-oh, is your concealer playing hide and seek in your photos? Fear not! Facetune offers a toolkit of solutions to help blend that concealer seamlessly into your skin. If you find your touch-ups are a bit too noticeable, start by using the 'Smooth' tool to soften those edges. Still too stark? Adjust the opacity to dial down the intensity. For those stubborn areas where the concealer just won't play nice, try the 'Patch' tool to sample nearby skin and blend over harsh lines. And if all else fails, a light touch of the 'Defocus' feature can slightly blur areas where concealer might be too obvious, giving you that soft-focus, magazine-cover finish.
Conclusion: Your Path to Photo Perfection
With Facetune's powerful editing tools at your fingertips, applying concealer to your photos has never been easier or more effective. Whether you're aiming for a quick fix or diving into a more detailed approach, these techniques will help you achieve that flawless, 'I woke up like this' look in your images. Remember, practice makes perfect, so don't be afraid to experiment with different settings to find the perfect balance for your unique style and skin tone. Now go forth and conquer those selfies – your followers won't know what hit them!


